Fiberboard Siding Installation Services Overview
Visitors will learn about local contractors who provide fiberboard siding installation services and how to compare their offerings.
- - Homeowners seeking durable, low-maintenance siding options for residential properties.
- - Commercial property managers looking to enhance building exterior with fiberboard siding.
- - Contractors or property owners planning to upgrade or replace existing siding with professional installation services.
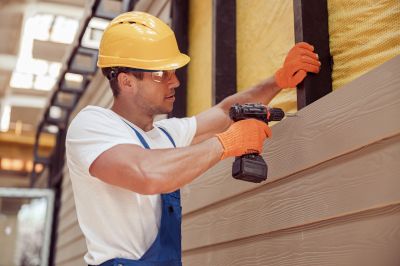
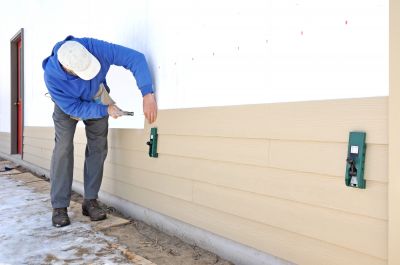
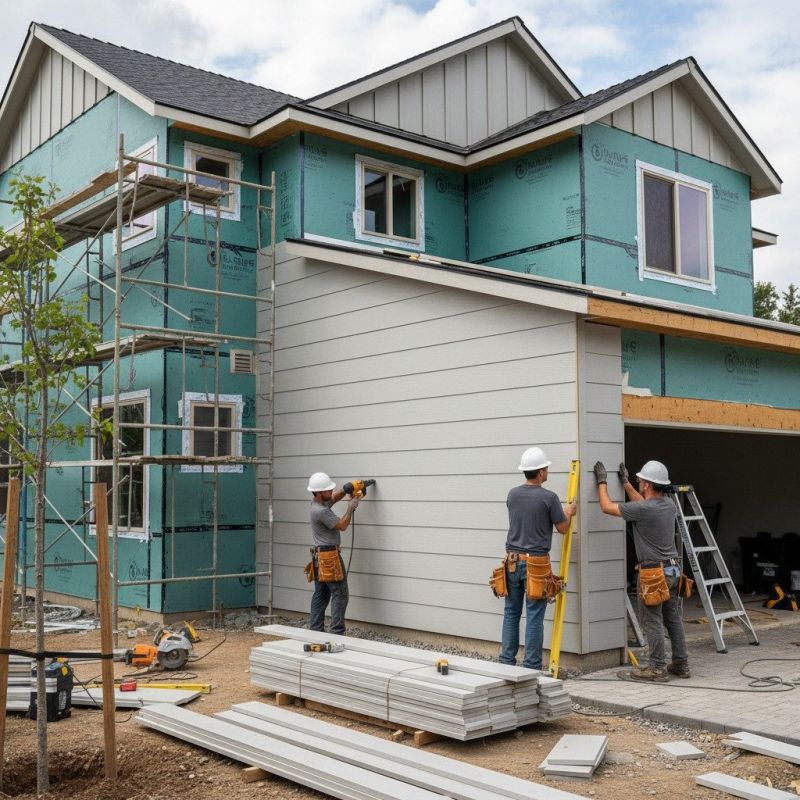
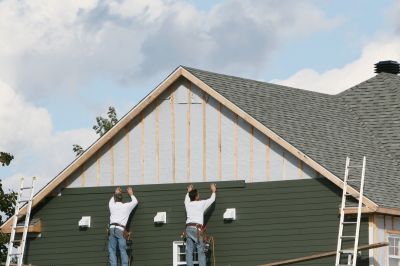
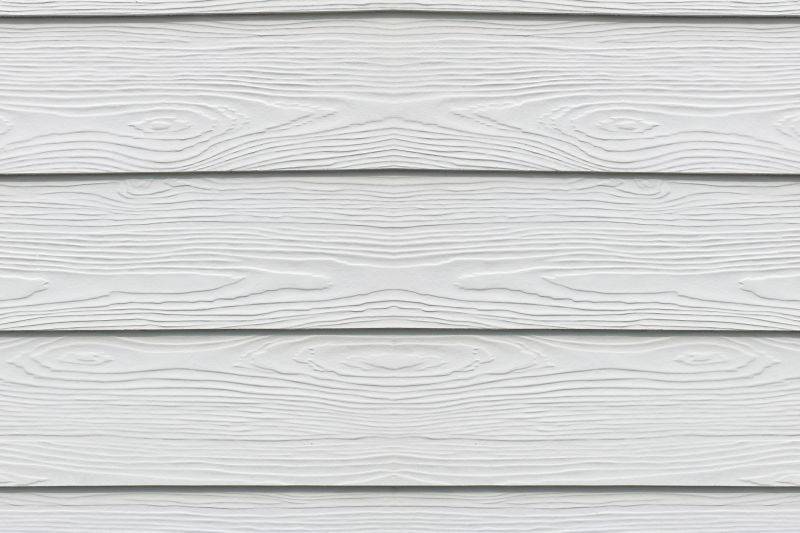
Fiberboard siding installation is a common upgrade for property owners seeking durable and visually appealing exterior cladding. Local contractors who specialize in siding services can assess existing structures, recommend suitable fiberboard options, and handle the installation process. These professionals are experienced in working with different building types and can ensure that the siding is properly fitted, sealed, and finished to enhance the property's appearance and performance.
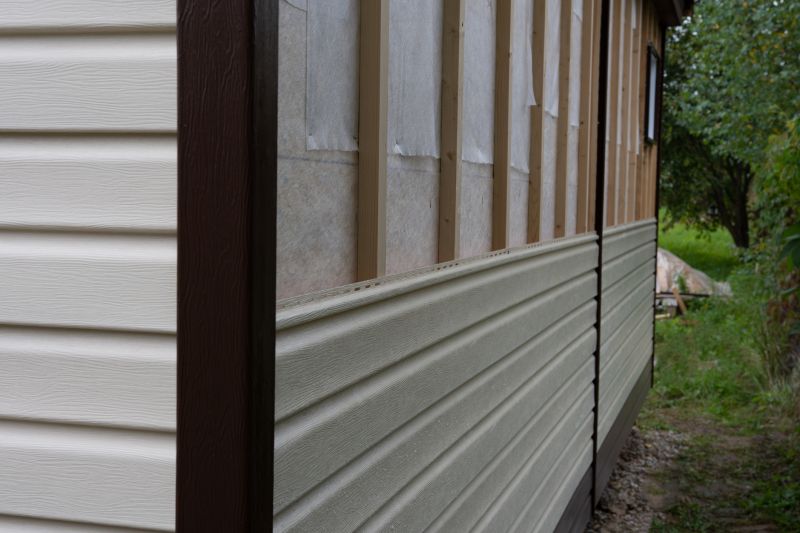
Property owners often seek out local service providers for fiberboard siding installation to improve curb appeal or replace aging or damaged siding. Skilled contractors typically evaluate the condition of existing exteriors, prepare the surfaces, and carefully install the fiberboard panels according to industry standards. When choosing a local pro, it’s helpful to consider their familiarity with local building codes and experience in handling projects similar to the scope of work needed.
This guide provides helpful information to understand the key aspects of fiberboard siding installation. It assists in comparing local contractors and understanding what to expect from service providers in your area. The goal is to help visitors gather essential details to make informed decisions about their project.